Difference between revisions of "Portal/Webforms - Settings"
(→Organisations you send referrals to) |
(→Organisations you receive referrals from) |
||
| Line 43: | Line 43: | ||
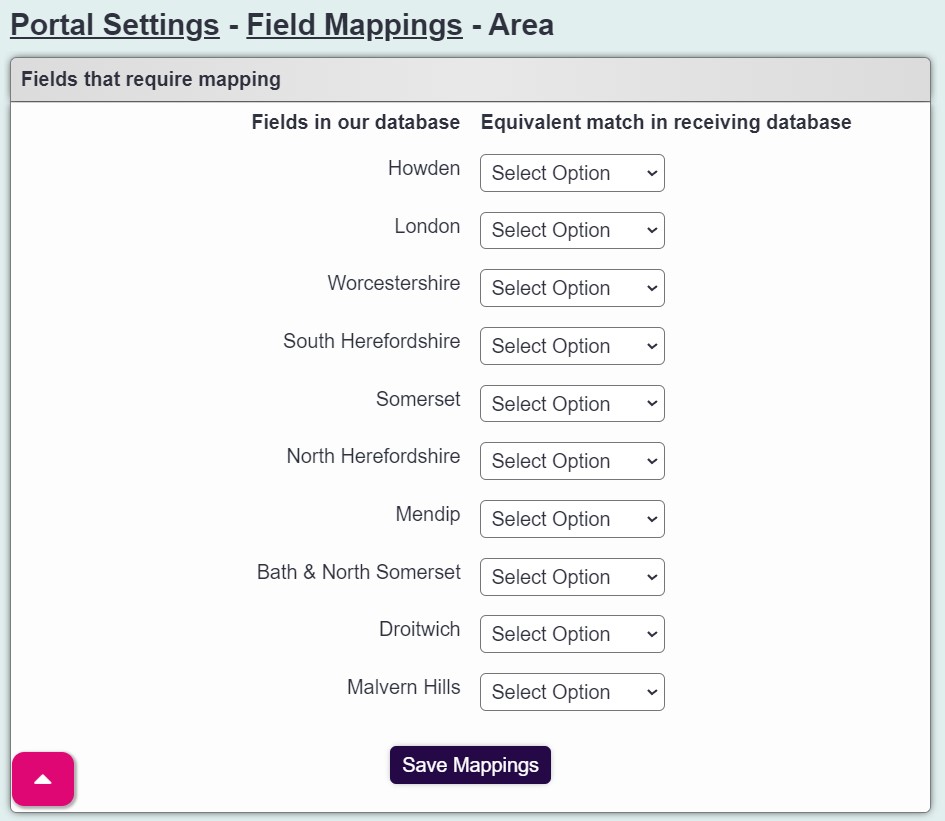
When you select the linked button, you will be displayed a list of fields from the sending organisation. Simply select the matching option from your database. You will find that these have been done automatically (if exact text match) or by the sender. Once finished click save details. | When you select the linked button, you will be displayed a list of fields from the sending organisation. Simply select the matching option from your database. You will find that these have been done automatically (if exact text match) or by the sender. Once finished click save details. | ||
| − | [[File: | + | [[File:Portal_mappings.jpg|alt="list of location fields being mapped to the fields of the linked database"]] |
---- | ---- | ||
[[File:helpheader_small.png|right]] | [[File:helpheader_small.png|right]] | ||
Revision as of 15:53, 5 February 2024
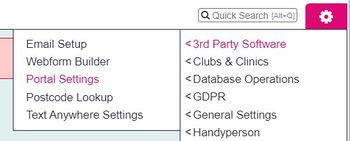
If your Organisation has a portal (sending/receiving referrals to/from another Charitylog/Crossdata system) you will be able to control the settings here. The first section will display the organisations which you have a portal to send referrals to. The second section displays the organisations you receive referrals from.
Organisations you send referrals to
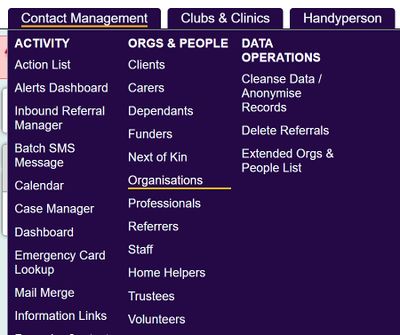
The receiver's database name cannot be changed, this is the name of the system you can send to. Each receiver will need a record setup as an Organisation, which can be found under the Contact Management menu.
Using the drop down on the portal setup page select the corresponding organisation record under the Receiver drop down. You can then click "Edit Available Fields"", and choose the fields you wish to send as part of the referral. You will need to consider the Data Protection Act, EU General Data Protection Regulations and a data sharing policy.
On the fields selection page, simply select the additional fields you wish to include. You will see that some ticked options cannot be edited, these are required for the portal. When finished, click "Save Details".
Organisations you receive referrals from
Under this section you will find the details of other systems that have been configured to send you referrals.
You are presented with a series of buttons, of which some are only used by specific older portals. The following two buttons are used here to map the senders fields to your fileds;
Linked Ethnic
Linked Disability
The following buttons are no longer used as part of mapping, as the receiving user will choose these on receiving the referral.
Linked Enquiry Prefixes (Classification Codes)
Linked Projects
Linked Outcomes
Linked Contact Types
Linked Benefits
Linked Methods
Linked Organisations
Linked Consent Rules.
When you select the linked button, you will be displayed a list of fields from the sending organisation. Simply select the matching option from your database. You will find that these have been done automatically (if exact text match) or by the sender. Once finished click save details.


