Branches
In standard form, Charitylog customers can share details of all of the organisations/people they deal with across all of their staff. Work done with those people can be restricted from users on a per-user basis, but every user of the system can always see all the organisations and people on that system. However, some customers actually don't want things to be this open - they want to have some way of restricting the visibility of the organisations/people themselves so that only certain members of staff can see that they even exist. This happens most commonly in partnership organisations or consortia, where the system is actually used by several separate customer organisations. The partnership/consortium want the benefits of a standardised system, and the ability to report on everything at once, but with control of what users can see.
Charitylog's Branches module allows this. You can set up as many Branches as you require, and then put organisations/people in one or more branches. Each user is also allowed access to one or more branches. The user will be able to see only the organisations/people in the branch that they are currently logged into. Administrators control both the visibility of organisations/people, and the access permissions of users, thereby making sure that users only see what they should see.
There is great flexibility available with the Branches module, and this means that the setup of a branch system is quite involved. We advise that you have a day with one of our Implementation Consultants on site to help you set up a branch system. However, this chapter should give you a good idea of what the Branches module can do for you. It is perfectly possible to convert an existing system to a Branch system, if you require. Call us for details.
Setting up Branches
In a new Branch system, at least one main branch will be created. If you have had your system converted to a Branch system, everything you were using before will probably have been migrated to one main Branch.
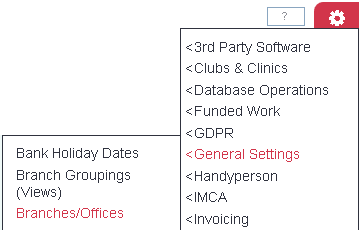
To create more Branches, click on Administration > Security > Branch Management > Branches/Offices.
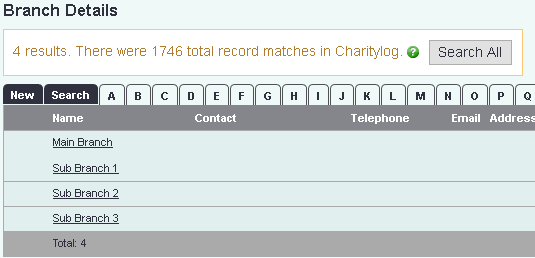
You will now see the list of existing Branches.
To create a new Branch, click the "Create New" button in the top right hand corner of the screen.
Enter the name of the new Branch (plus any other information you want to add)
Click the "Save and Close" button when done.
What the user sees
In a Branch system, the User Account Details page has an extra tab called "Branch Details".
From this tab you can set the view permissions for the user. Options for which branches they are allowed to view are:
- All branches
- Individual Branches (tick/select every branch you want this user to be able to see)
- Groups of Branches (Views)


