Invoice Layouts
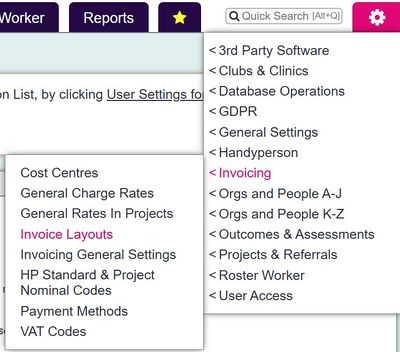
Invoice layouts will allow you to make certain customisations to the Invoice templates. These templates are fixed and you cannot add new ones. The Invoicing General Settings section will specify which invoice layout is used by the project type (type determined by the module and project setup). You will find a range of layouts, some of which are available to all project types, others limited to a project type.
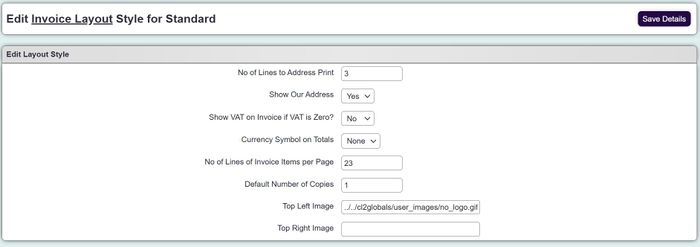
To edit a layout simply click the 'Edit' button.
Number of Lines to Address Print - This will allow the invoice to be printed lower down on the page, used for windowed enveloped.
Show Our Address - When set to yes this will display the address of your organisation, as set in Organisation Details
Show VAT on Invoice if VAT is Zero? - This will show VAT as zero on the invoice if there is no VAT.
Currency Symbol on Totals - This will add the '£' symbol if required.
No of Lines of Invoice Items per Page - This is the number if invoice items that will be printed per page. If there are more items than the specified value the remain items will go on to further pages.
Default Number of Copies - This feature has been replaced by the Print Invoices section.
Top Left Image - Paste the URL provided by the System Uploads section for the image to appear in the top left hand corner of the invoice.
Top Right Image - Paste the URL provided by the System Uploads section for the image to appear in the top right hand corner of the invoice.
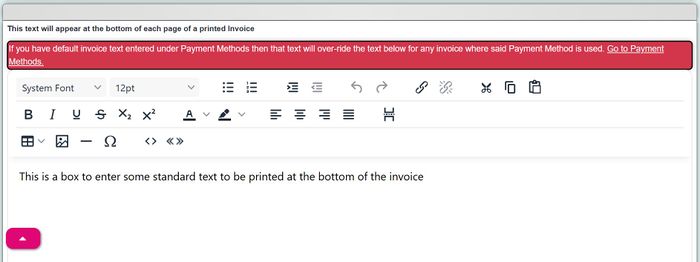
This text will appear at the bottom of each page of a printed Invoice - This text editor allows you to add footer text to the invoice. If you have setup alternative footers in Payment Methods this will be replace by that text.
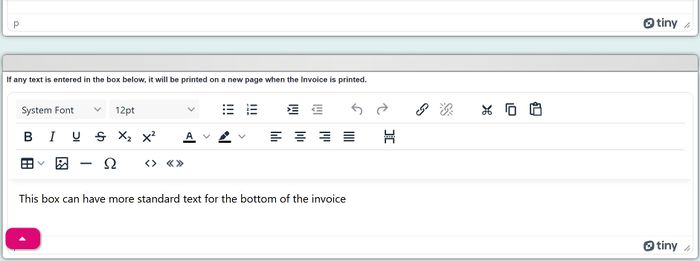
If any text is entered in the box below, it will be printed on a new page when the Invoice is printed. - This will allow you to print an extra page per invoice. This can be used for items such as payment instructions.
When finished click the 'Save Details' button.


